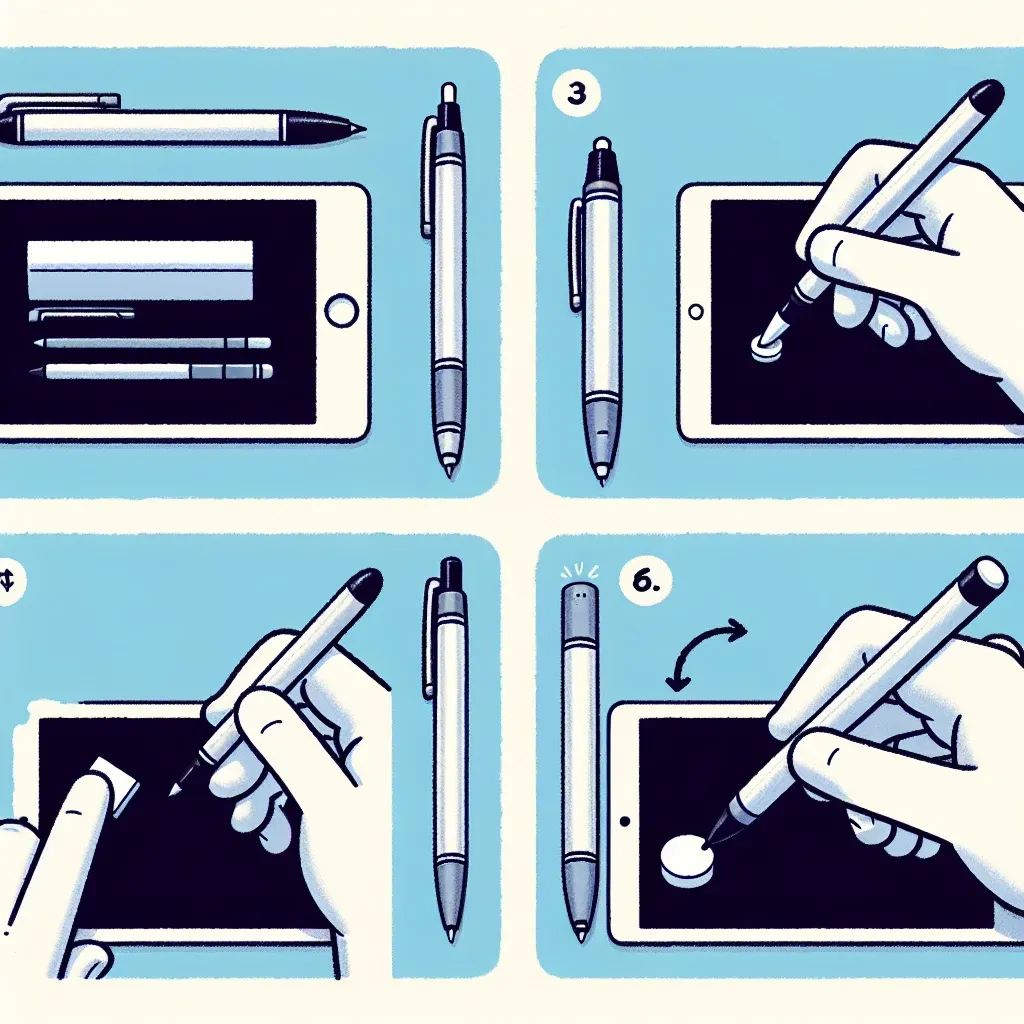
How to Make a Pen Stylus?
Whether you're an artist, a note-taker, or someone who loves gadgets, creating your own stylus for tablets and smartphones can be a fun and practical project. With a few household items, you can design a functional pen stylus that's both cost-effective and efficient.
Materials Needed
Before starting the process, gather the necessary materials. Here's a list of what you'll need:
| Material | Description |
|---|---|
| Biro Pen | Any old or unused ballpoint pen will work. |
| Cotton Swab | The tip of the stylus for contact with the screen. |
| Aluminum Foil | Essential for conductivity. |
| Scissors | Cutting tool for shaping the materials. |
| Water | Improves conductivity. |
Step-by-Step Guide
- Disassemble the Pen: Remove the ink cartridge and the pen tip. You'll be left with an empty pen casing.
- Prepare the Cotton Swab: Trim one end of the cotton swab so it fits snugly into the pen casing. It should stick out slightly to make contact with your device's screen.
- Wrap with Aluminum Foil: Take a small piece of aluminum foil, about 2-3 inches in length. Wrap it tightly around the exposed part of the cotton swab and extend it down the shaft of the pen casing.
- Add Water: Slightly dampen the cotton swab. Water will enhance the conductivity of the stylus.
- Secure the Foil: Ensure that the aluminum foil is tightly wrapped and is making firm contact with the cotton swab. It should also make contact with your fingers when you're holding the pen.
Testing Your Stylus
- Open a drawing app or any application that allows for stylus input on your tablet or smartphone.
- Gently touch the screen with the cotton swab tip of your new stylus.
- Ensure there is smooth interaction, similar to a store-bought stylus.
If it's not working as expected, troubleshoot the following:
- Check the Cotton Swab: Ensure it's slightly damp but not too wet.
- Foil Contact: Confirm that the aluminum foil is making contact with both the cotton swab and your fingers.
- Length of Swab: Double-check the cotton swab length; if it's too short, it may not work effectively.
Benefits of a DIY Stylus
Creating your own pen stylus has multiple advantages:
- Cost-effective: Avoid spending money on expensive styluses.
- Customizable: Easily modify the stylus to suit your needs.
- Eco-friendly: Repurpose old materials and reduce electronic waste.
- Learning Experience: Gain a better understanding of basic electronics and conductivity.
Maintaining Your DIY Stylus
Although a DIY stylus is relatively easy to make, it does require some maintenance:
- Keep It Clean: Ensure that no dirt or debris accumulates on the cotton swab tip.
- Replace as Needed: The cotton swab may wear out over time. Simply replace it and re-wrap it with aluminum foil.
- Proper Storage: Store the stylus in a dry place to prevent moisture from affecting the aluminum or the cotton swab.
Conclusion
Making a pen stylus is a simple yet effective way to create a functional tool for your digital needs. With just a few household items, you can craft a reliable stylus while also saving money and reducing waste. So why not give it a try? Your next digital creation awaits!

